DIY Dog Christmas Collar: 5 Easy Ideas You Can Make at Home
You don’t need a sewing machine or a craft room to dress your dog up for Christmas. Most of these ideas use things you already have: felt, ribbon, an old shirt, some glue. You can finish any of them in under half an hour.
One rule applies to every idea below: these are covers and add-ons, not replacements. Your dog’s regular collar, with the ID tag on it, stays on. Everything here goes over it or clips onto it. That way, if a decoration comes loose or you need to take it off fast, your dog is never left without ID.
Before You Start: Sizing in 60 Seconds
Wrap a soft tape (or a piece of string, then measure it) around your dog’s neck where the collar sits. Add 2 inches (5 cm) for a bandana or sleeve. The rough sizes below are only a starting point, so go by your own measurement.
| Dog size | Neck | Bow tie width |
|---|---|---|
| Small (Chihuahua, Pug) | 8-12 in | 3-4 in |
| Medium (Beagle, Cocker Spaniel) | 12-16 in | 4-5 in |
| Large (Labrador, Golden Retriever) | 16-22 in | 5-6 in |
You also need a few basics for most ideas: a fabric glue or hot glue gun, scissors, and a ruler. Fabric glue is gentler to work with around dogs. If you use a hot glue gun, let everything cool fully before it goes near your dog.
Idea 1: The 10-Minute Felt Bow Tie
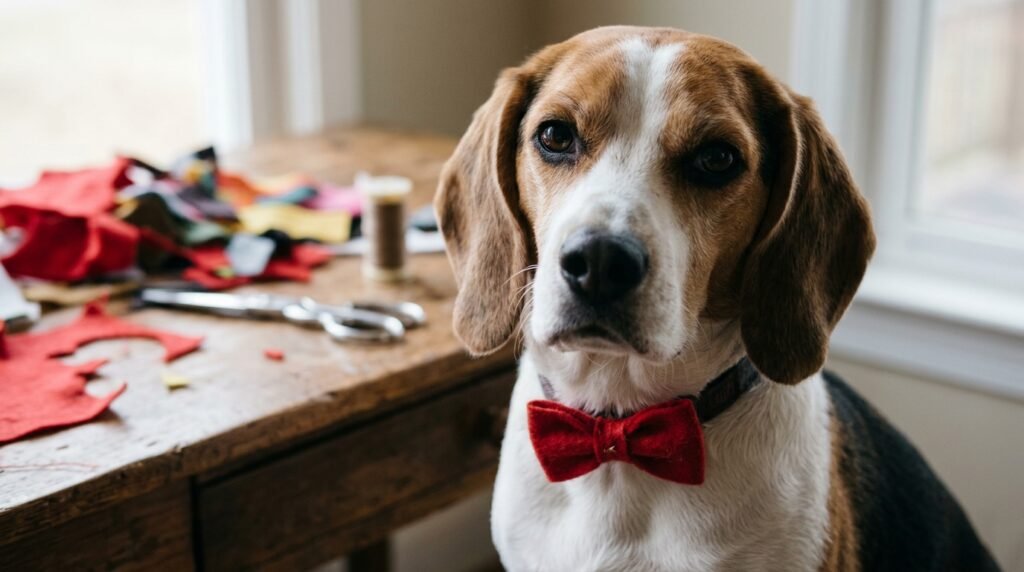
Best for: dogs who dislike things around their neck. It is light and sits flat.
This one is the fastest, and it looks good on almost any dog.
You need: two pieces of felt (one large, one small), scissors, fabric glue, and a strip of elastic or the dog’s own collar.
How to make it:
- Cut a rectangle of felt in your dog’s size (see the table above), about twice as wide as it is tall.
- Pinch it in the middle so it forms a bow shape, and hold it there.
- Cut a small felt strip, wrap it tightly around the pinched middle, and glue the back.
- Cut two small slits in the back of the bow, or glue a loop of felt behind it, and slide your dog’s collar through.
Tip: Red or dark green felt looks classic. White felt with small red dots looks festive without being too much. Make two bows in different colours and swap them through the season.
Idea 2: Ribbon-Wrapped Collar Cover
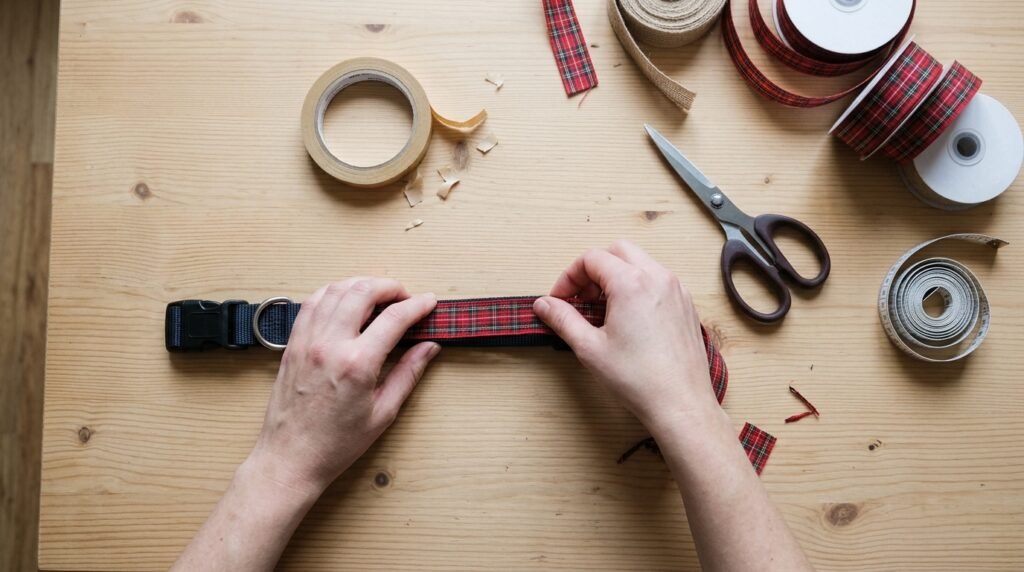
Best for: small dogs and dogs with short coats, where a cover looks neat and tidy.
Here you wrap a plain collar in festive ribbon. It turns a basic collar into something that looks like it came from a shop.
You need: 1 to 1.5 inch wide ribbon, double-sided fabric tape, scissors.
How to make it:
- Lay the collar flat on a table, buckle side up.
- Stick a strip of double-sided tape along the outside of the collar.
- Press the ribbon on, starting at the buckle end, and smooth it flat as you go.
- Fold the ribbon ends under at the buckle and tape them down so nothing frays.
- Leave the buckle and the D-ring free so you can still clip the leash.
Tip: Choose ribbon that is soft, not stiff or scratchy. Plaid and velvet ribbon both look lovely, but check that the edges feel smooth against your skin. If it bothers your hand, it will bother your dog’s neck.
Idea 3: The Old T-Shirt Bandana (No Sewing)
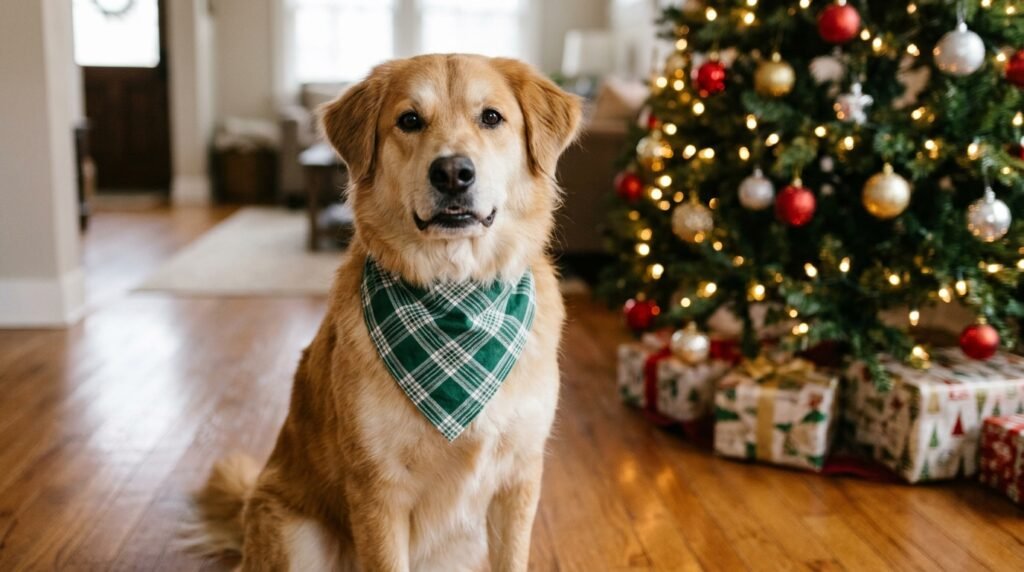
Best for: medium and large dogs, and anyone who wants a free project.
A bandana is a good way to use up an old Christmas shirt or any cotton fabric you no longer wear.
You need: a cotton shirt or square of cotton fabric, scissors, ruler.
How to make it:
- Cut a square: about 14 in for small dogs, 20 in for medium, 24 in for large.
- Fold it in half diagonally to make a triangle.
- Fold the long edge over by about 2 inches, and slip your dog’s collar through that fold.
- Check that the point of the triangle falls on your dog’s chest, not near the mouth.
Cotton is the best choice because it is breathable and light. Skip anything shiny or stretchy with sequins.
Tip: Cut the edges a little unevenly if you like. Cotton jersey curls slightly on its own and doesn’t fray, so it doesn’t need hemming.
Idea 4: Festive Charm (Instead of Bells)
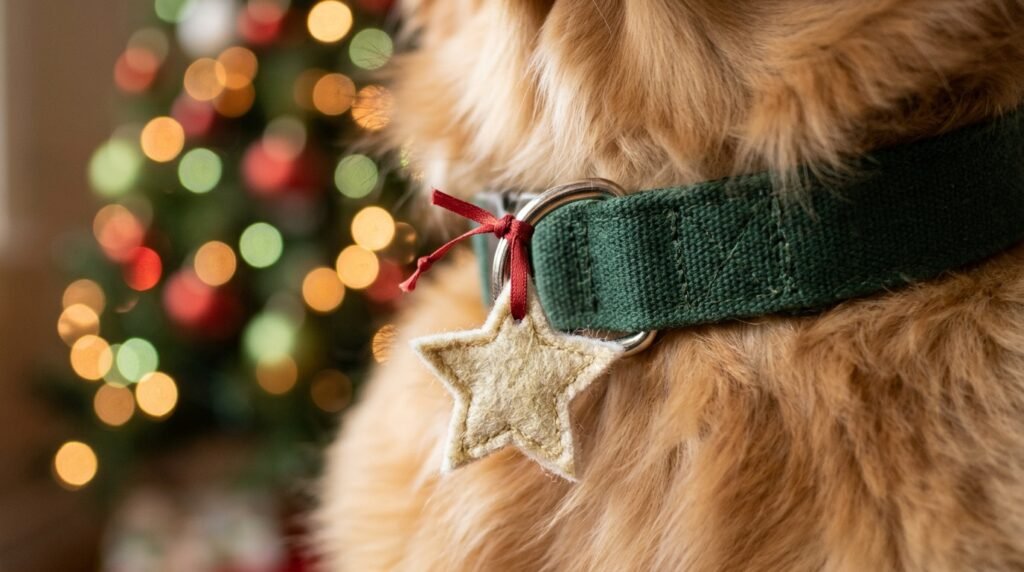
Best for: dogs who like a little extra sparkle.
A jingle bell is the obvious choice, but there is a risk. Small bells can come off, and a dog who swallows one can end up at the vet. A safer version is a charm made from felt or a flat shape.
You need: felt in two colours, a hole punch, thin ribbon, fabric glue.
How to make it:
- Cut a small shape such as a star, holly leaf or candy cane from the felt. Keep it to about 1.5 to 2 inches.
- Glue a second layer behind it so it is thick and doesn’t bend.
- Punch a hole near the top and thread a ribbon loop through it.
- Attach it to the D-ring by tying the ribbon in a tight knot.
If you really want a bell, pick a large pet-safe one that is far too big to swallow, and stitch it on firmly, not just tie it. Even then, check it before every walk.
Tip: A flat felt charm makes no noise, which works well for dogs who are startled by jingling.
Idea 5: Velcro Collar Sleeve
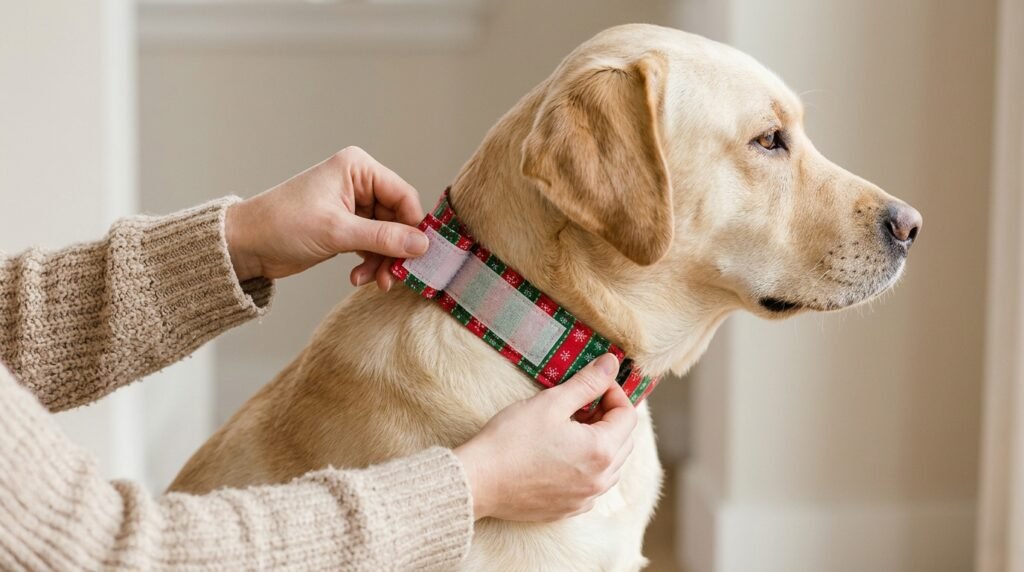
Best for: dogs who wear their collar all day and need something that comes on and off quickly.
A sleeve is a strip of fabric that wraps around the collar and closes with Velcro. It’s the neatest-looking option, and you can make several in different patterns.
You need: a strip of festive fabric (collar width plus 2 inches by collar length plus 2 inches), adhesive Velcro strips, fabric glue.
How to make it:
- Cut the fabric strip.
- Fold the long edges in by half an inch and glue them down.
- Stick one Velcro piece on the inside of one end, and the matching piece on the outside of the other end.
- Wrap it around the collar and press the Velcro closed.
Tip: Use a thin fabric. Thick fabric makes the collar bulky, and dogs notice that.
Which One Should You Make?
- Short on time? Felt bow tie.
- Want a free project? Old shirt bandana.
- Small dog with a short coat? Ribbon collar cover.
- Fluffy or long-haired dog? Bandana or charm. Cover-style collars can get hidden by fur.
- Dog who changes outfits a lot? Velcro sleeve.
Making It Safe and Comfortable
Even a cute collar should pass this quick check before your dog wears it:
- Two-finger fit. You should be able to slide two fingers between the collar and your dog’s neck.
- Nothing loose. Tug every glued or tied part firmly. If anything moves, fix it before it goes on.
- Supervised wear. Take decorations off when you leave the house, when your dog sleeps, and when dogs play together. Another dog can catch a bow or bandana while rough-playing.
- Skin check. After a few hours, lift the fabric and look for redness, especially on short-haired or thin-coated breeds.
- Heat. If you are using it indoors with a heater on, make sure your dog is not getting too warm under thick layers.
If your dog scratches at it, shakes it or freezes, take it off. Not every dog enjoys dressing up, and that is fine.
Getting Your Dog Used to It
Dogs often act strangely the first time something new touches their neck. A few easy steps help:
- Let your dog sniff the finished piece first.
- Put it on for 30 seconds, give a treat, and take it off.
- Slowly build up the time over a day or two.
- Keep the mood relaxed. Praise and a small treat go a long way.
Take photos once your dog is calm and comfortable, not while they are trying to shake it off. A few quiet minutes near the tree with some treats usually gives the best result.
FAQs
Can I use hot glue on a dog’s collar?
Yes, as long as it has fully cooled and is firmly set. Fabric glue is easier to work with and softer when dry.
How long can my dog wear a Christmas collar?
A few hours at a time while you are home and watching is fine. Take it off at night and when you go out.
What if my dog chews the decoration?
Take it off and don’t give it back. Chewing means it isn’t safe for that dog. Go with a non-removable option like the ribbon cover, or skip decorations for that dog.
Will these work on cats?
Not directly. Cats need breakaway collars, so don’t use these designs on them.
Final Thoughts
A homemade Christmas collar doesn’t have to be fancy to make your dog look great. Pick one idea, make it with what you have, and keep safety first. Once you’ve made the first one, the others take very little time.